Summer is the perfect time to embrace a refreshed look, and while lightening up your hair may not be groundbreaking, there's a fun and exciting way to make a statement: hair underlights. Adding vibrant underlights to your hair can create a fresh and playful look that's perfect for the season.
1.The Rise of Underlights Hair: Exploring the Popularity of the Trend
Underlights hair has taken the beauty industry by storm, becoming one of the most talked-about trends in recent years. But what exactly is underlights hair? Well, think of it as a secret burst of vibrant color hiding beneath the top layers of your hair. It's like having a hidden gem that only reveals itself when you move or style your locks.
So, why has underlights hair gained such immense popularity? One reason is that it allows individuals to break free from traditional hair norms and embrace their individuality. People are no longer satisfied with conventional hair colors and styles; they want something that sets them apart from the crowd. Underlights hair provides just that - a way to express one's unique style and personality.
Influencers, celebrities, and fashion icons have played a crucial role in popularizing the underlights hair trend. Celebrities, who rocked vibrant underlights hair during her rise to stardom, have undoubtedly influenced the trend's exponential growth. Their bold and daring choices have inspired countless individuals to experiment with this unconventional and eye-catching style.
Visuals play a crucial role in capturing the attention and admiration of those who are considering underlights hair. Social media feeds are filled with mesmerizing photos and videos showcasing a wide range of underlights hair looks. From subtle pastel shades to vibrant neon hues, there's an underlights hair style for everyone. These visuals not only inspire but also allow individuals to envision themselves rocking this unique trend.
Some notable examples of underlights hair looks that have gained widespread attention include the "peekaboo" style, where vibrant colors are strategically placed underneath the hair to create a stunning contrast. Another popular variation is the "rainbow underlights," which features a spectrum of colors cascading beneath the surface, reminiscent of a mesmerizing rainbow.
2.Embrace Your Inner Rebel: How Underlights Hair Can Express Your Unique Style
Underlights hair goes beyond mere fashion; it's a powerful tool for self-expression and embracing your inner rebel. This trend provides a platform for individuals to showcase their personality, creativity, and desire to break free from societal norms. It's an invitation to unleash your unique style and make a bold statement.
One of the remarkable aspects of underlights hair is its ability to serve as a form of artistic expression. Just like a painter uses a canvas to create a masterpiece, individuals can use their hair as a medium for showcasing their creativity and individuality. With underlights hair, you become the artist, blending different shades and colors to design a personalized work of art.
3.The Downsides of Traditional Underlights: Avoiding the Pitfalls of Hair Dyes
While traditional underlights achieved through permanent hair dyes can offer stunning results, they also come with their fair share of drawbacks and considerations. It's important to address these concerns and explore a more flexible and regret-free alternative.
One of the primary drawbacks of traditional underlights achieved through permanent hair dyes is the commitment that comes with it. Opting for permanent color changes means making a long-term decision, as the color will remain until it grows out or is professionally removed. While this commitment can be exciting for some, it can also lead to potential regrets or dissatisfaction with the chosen color over time.
Another limitation of traditional underlights is the difficulty in changing or removing the color once it's applied. Once the permanent hair dye is in place, altering the color or removing it entirely can be a challenging and time-consuming process.
4.Say Goodbye to Hair Damage: Achieve Underlights Hair Without Chemical Dyes
When it comes to achieving underlights hair, traditional hair dyes may pose several disadvantages that can potentially harm the health and integrity of your hair. Chemical dyes, while effective in coloring the hair, can also cause a range of issues such as dryness, breakage, and a loss of overall hair health. It's time to say goodbye to these concerns and explore a safer alternative that allows you to achieve the stunning underlights hair look you desire without subjecting your natural hair to harsh chemicals.

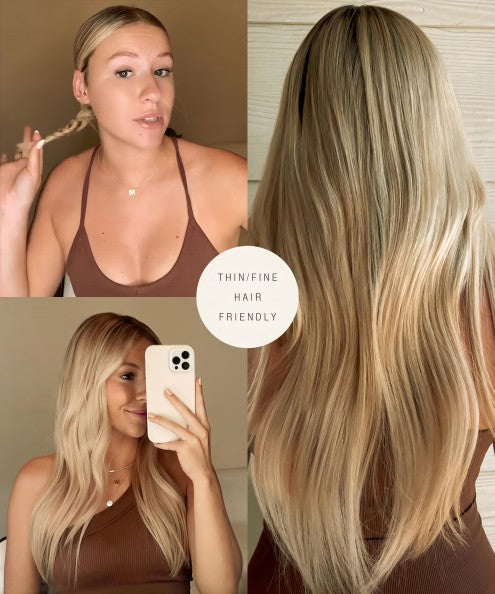
With our single clip-in volumizer, we use minimal processing. Our commitment to using high-quality raw materials means that we can offer a safer option for achieving underlights hair without compromising the health and integrity of your natural hair. Unlike traditional dyes that require multiple steps involving strong chemical formulations, our single clip-in volumizer is designed to provide vibrant and eye-catching underlights without subjecting your hair to unnecessary damage.
By opting for our clip-in volumizer, you can maintain the health of your hair while still enjoying the captivating effect of underlights. This means saying goodbye to concerns such as dry and brittle hair, breakage, and the potential long-term damage associated with chemical dyes.

5.Step-by-Step Guide: Using Our Single Clip-In Volumizer for Flawless Underlights Hair
Achieving flawless underlights hair with our clip-in volumizer is easier than you think. Follow this detailed step-by-step guide to ensure a seamless and natural-looking result that will turn heads wherever you go.
Step 1: Sectioning the Hair
Start by parting your hair horizontally, approximately 1 to 2 inches above the nape of your neck. Use a comb to create a clean and even parting. Secure the upper portion of your hair with clips or hair ties to keep it out of the way.
Step 2: Preparing the Volumizer
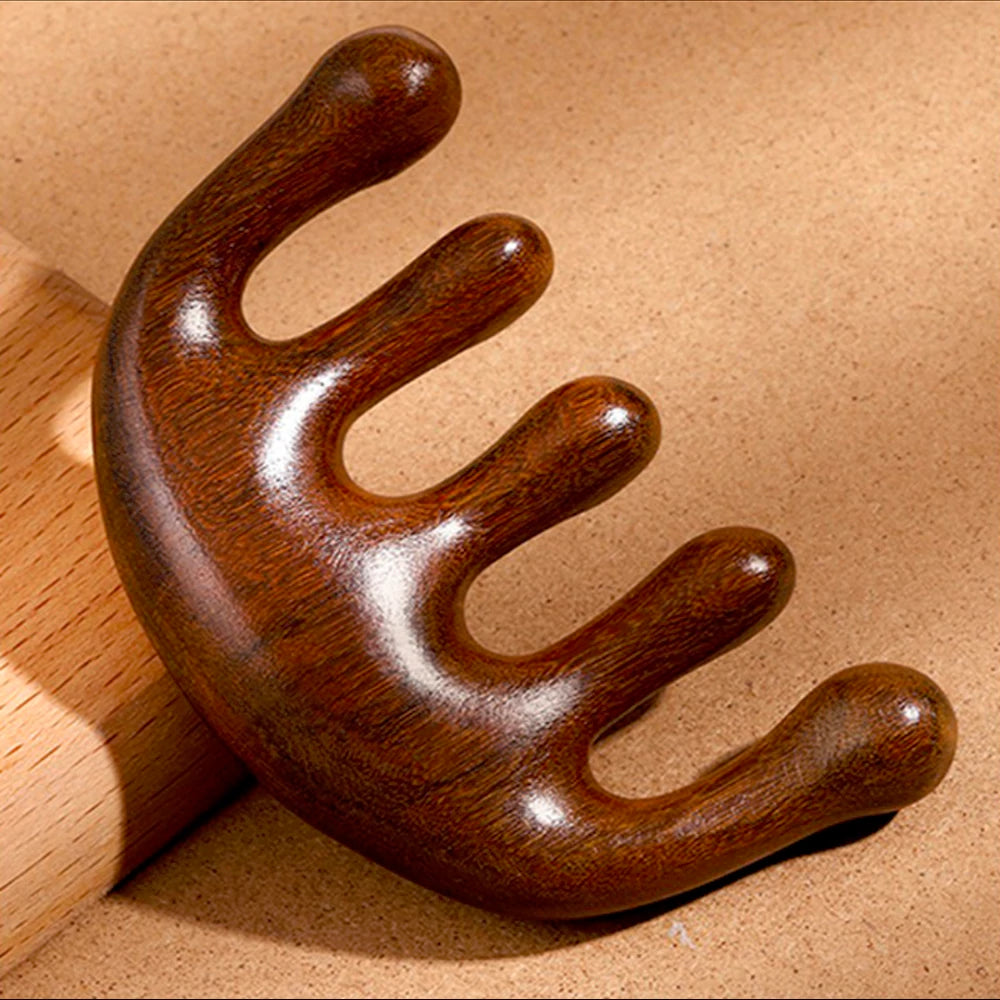
Take our clip-in volumizer and gently brush through it with a wide-toothed comb or a soft-bristle brush to remove any tangles or knots. This will ensure that the volumizer is smooth and ready for application.
Step 3: Positioning the Volumizer
Place the clip-in volumizer at the parting you created in Step 1. Position it horizontally, making sure it sits snugly against your scalp. The clips on the volumizer should be facing downward for easy attachment.
Step 4: Attaching the Volumizer
Starting from one side, open the clips on the volumizer and secure them to your natural hair. Move from the center outwards, attaching the clips along the parting line. Ensure that the volumizer is secure and evenly distributed. Repeat this process on the other side, making sure the volumizer is securely attached to your hair.
Step 5: Blending with Natural Hair
Carefully release the upper portion of your hair that was secured in Step 1. Gently comb through your natural hair and blend it with the clip-in volumizer to create a seamless and natural look. Use a mirror to check for any visible gaps or unevenness, and make any necessary adjustments to ensure a flawless blend.
Step 6: Styling and Final Touches
Now that your underlights hair is flawlessly blended, style it to your preference. Whether you choose to leave your hair down, create waves, or try one of the styling ideas mentioned earlier, let your creativity shine. Use heat protectant products if using heat styling tools and add any finishing touches, such as hairspray or shine serum, for a polished look.
Friendly Tip: In order to facilitate your styling, we provide 18inch and 22inch single clip-in volumizer, you can freely trim according to your needs.


