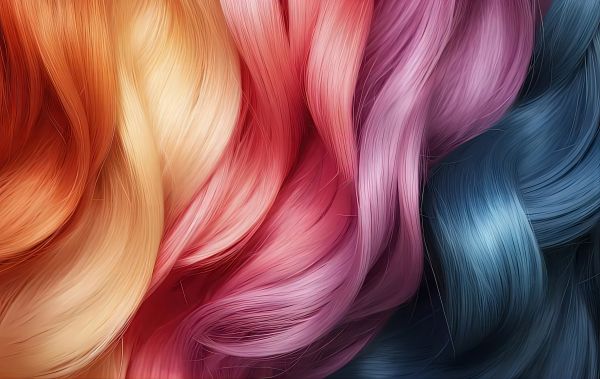
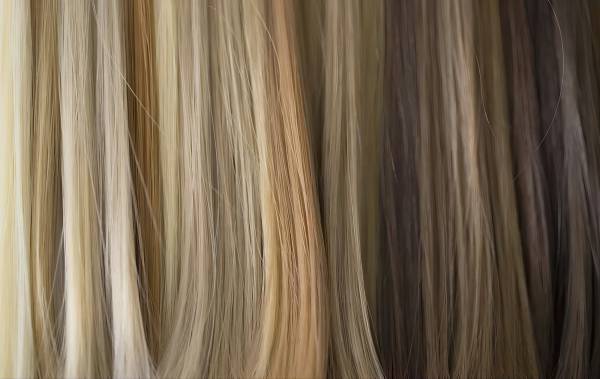
Human hair extensions are generally the most suitable for coloring as they react similarly to natural hair. Human hair extensions can be dyed using traditional hair dyes, providing versatility in achieving desired shades. On the contrary, synthetic hair extensions are typically made from fibers that do not respond well to traditional hair dye. Experts caution against dyeing artificial hair, as it has usually undergone chemical treatment and may not endure the dyeing process.
Endaring Hair utilizes two of the highest quality human hair qualities on the market: 100% virgin remy human hair and 100% remy human hair. Endaring Hair can be dyed without damage.
ATTENTION: Please note that the dye may react chemically with the inside edges of the invisible clip-ins, so please test with a small piece of invisible clip-ins first;
If you want to dye a dark color to a light color, it is recommended to consult a professional stylist beforehand.
How to Color Hair Extensions
- Choose a Color
To begin, select your perfect shade. It’s advisable to use color from a professional hair color and developer line, as boxed color from the drugstore may not allow you to choose a suitable developer for your extensions. A 10-volume developer or demi-permanent color is typically recommended. Expert stylists suggest opting for a subtle shade change if it’s your first time dyeing your extensions, as this can help prevent damage or breakage. If you desire platinum highlights or a white-blonde look, it might be best to leave it to the professionals.
- Gather Your Supplies
In addition to hair color and developer, you’ll need hair color gloves, a color bowl and brush, tin foil, plastic wrap, a wide-tooth comb, and a towel. If you’re dyeing using the watercolor method, you'll require a deep container such as a sink, mixing bowl, or plastic bucket/storage container. Once you have all your supplies, set up your workspace. Dyeing hair can be messy, so cover surfaces with sheets of tin foil to prevent unwanted color stains.
- Prep Your Hair
Keep in mind that Endaring Hair extensions come pre-conditioned, and this silky coating needs removal for the color to absorb evenly. Fill your sink with lukewarm water, add 2-3 dollops of shampoo, and gently wash the hair extensions one weft at a time. Air-dry the hair extensions completely before beginning the color application.
- Mix the Color
Follow the manufacturer’s directions to prepare your color. Most hair dyes consist of equal parts color and developer, and you'll typically need about 3-5 ounces of color for your extensions. Ensure you have enough dye on hand before starting to avoid running out.
- Apply the Hair Color
Before applying the dye, always conduct a strand test first. For the watercolor method, dip the weft into the water and let it soak. Repeat as necessary to achieve the desired vibrancy. Once satisfied, apply the dye using a color brush, ensuring complete saturation from top to bottom. For the watercolor method, repeat the process for the remaining wefts.
- Process the Color
After applying color to all extensions, cover them loosely with plastic wrap and let the color process according to the manufacturer’s instructions. Check the color periodically and reapply as needed.
- Rinse Your Hair Extensions
Once processing is complete and you’re satisfied with the color, rinse the extensions with cool water, running fingers through the hair to remove excess dye. Shampoo with a sulfate-free moisturizing or color-friendly formula, followed by a sulfate-free deep conditioning treatment.
- Comb and Let Hair Dry
Apply leave-in conditioner to the extensions, gently brush with a wide-tooth comb, and allow them to air-dry thoroughly before styling. Use a heat protectant spray if using heat tools.


